
$
$
Product successfully added to your shopping cart.
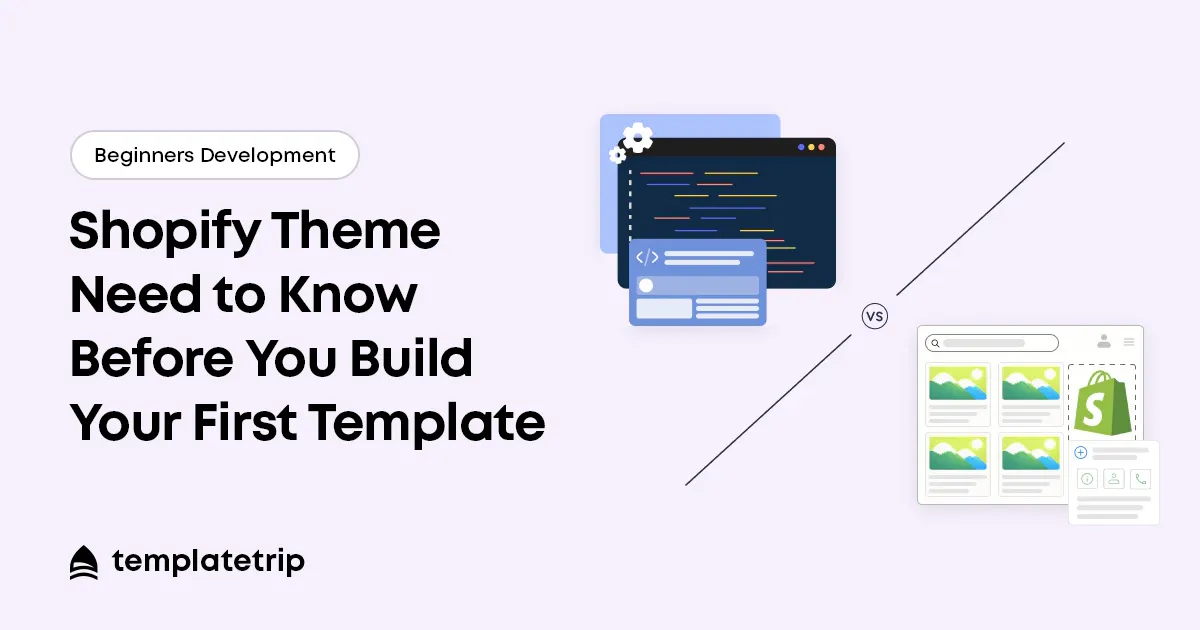
Building a Shopify theme for sale is one of the highest-return creative investments a web designer can make. A well-built theme, listed on the right marketplace, can generate income for years after it was built. But the technical path from "I want to build a Shopify theme" to "my first theme is listed and selling" involves specific skills, tools, and decisions that are worth understanding before you write a single line of code.
Shopify themes are built using Liquid — Shopify's open-source template language. Liquid uses a combination of objects (which output store data like product titles and prices), tags (which control logic and loops), and filters (which modify output format). If you are comfortable with HTML, CSS, and basic JavaScript, Liquid is learnable within 2–4 weeks of focused practice.
In 2026, all new Shopify themes are built on the Shopify 2.0 architecture. This means your theme must use JSON template files and must support sections on every page type — not just the homepage. The Shopify CLI (Command Line Interface) is the development tool you will use to build, preview, and push your theme to a Shopify development store.
Before writing Liquid code, spend time in the market you are building for. Browse the top-selling Shopify themes in your target niche on TemplateTrip and other marketplaces. Identify what they do well and where their limitations are. Read the critical reviews — buyers are very specific about what they wish existing themes had. Design your theme in Figma with these gaps in mind.
Create designs for at minimum: three homepage layout variants, the product page, the collection page, the cart page, the blog index and single post, and the about/contact pages.
Start with the theme's base structure — header, footer, and the global CSS variables that define your colour palette and typography system. Build the homepage sections next, because they are the most visible and complex. Then build the product and collection page templates. Finally, add the secondary pages — blog, about, contact.
Build responsively from the start. Write your CSS using a mobile-first approach and test every section on a real phone as you build it.
Before submitting to any marketplace, run your own quality audit. Test on Chrome, Safari, Firefox, and Edge. Test on multiple screen sizes using both browser tools and actual devices. Run the theme through Google PageSpeed Insights and resolve any critical performance issues. Verify that One Click Demo Import works correctly if your theme includes demo content.
Submit to TemplateTrip for your first listing. The quality review process is thorough but the feedback is specific — if your theme needs changes, you will know exactly what to fix. The 80% commission from your first sale means the financial return on a successful submission is immediate and meaningful. A $59 Shopify theme with 20 sales per month earns you $944 per month at 80% commission. Build it once. Earn repeatedly.
shopify theme development beginners 2026, how to build shopify theme, shopify liquid theme development, first shopify theme tutorial