
$
$
Installing a new Shopify theme is one of the first technical tasks a new store owner faces — and one that is straightforward once you understand the process. This guide walks through every step, from purchasing and downloading your theme to making it live on your store.
Before beginning the installation process, confirm you have: your downloaded theme file — a .zip file (available from your TemplateTrip account dashboard immediately after purchase); access to your Shopify admin; and if the theme includes demo content, that import file ready from the same download package.
Go to your-store.myshopify.com/admin and log in with your store owner credentials. Navigate to the Online Store section in the left sidebar. This is where all theme management takes place.
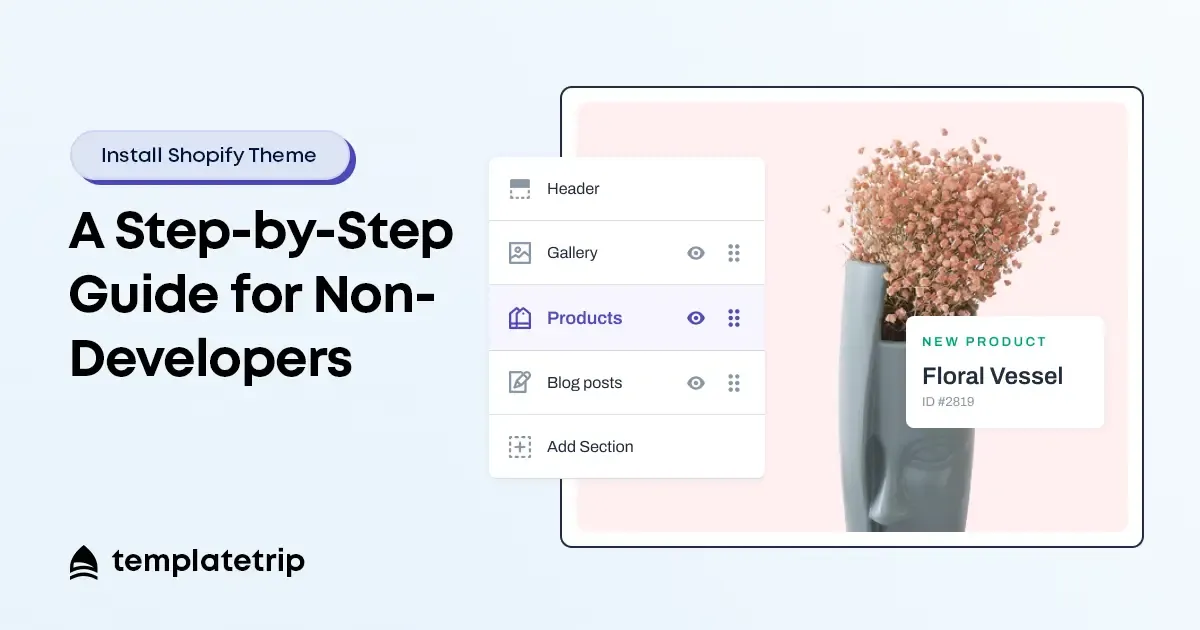
From the Online Store section, click Themes. This takes you to your theme library — the list of all themes currently installed on your store. New Shopify stores typically have the Dawn theme installed by default.
Scroll down to the bottom of the Themes page and find the Add Theme button. Click it and select the .zip file you downloaded from TemplateTrip. Shopify will upload and process the file, which typically takes 30–60 seconds.
Important: Do not unzip the file before uploading. Shopify requires the theme file in its original .zip format. Uploading an unzipped folder will fail.
Once the upload is complete, your new theme will appear in your theme library with an 'Unpublished' status. Before making it live, click Actions next to the new theme and select Preview to open a live preview. Review the homepage, a product page, and the navigation before proceeding.
If your theme includes One Click Demo Import, this is the step that transforms your store from a bare theme installation into something that closely resembles the demo you purchased. From your theme's Actions menu, look for a theme settings option or a dedicated Demo Import section.
Demo import typically installs: placeholder homepage sections with pre-configured layouts, navigation menu structure, blog posts, and sample product categories. You will replace all of this with your own content — but starting with the demo structure saves significant configuration time.
With the demo content installed, use the Shopify theme editor (accessed via Customize on your theme's Actions menu) to make initial customisations before publishing: add your logo, update the colour scheme to match your brand, replace placeholder images with your own photography, and configure the navigation to reflect your actual product categories.
When you are ready to make the theme live, return to your theme library and click Publish next to your new theme. Shopify will ask you to confirm — click Publish again. Your store will immediately begin serving the new theme to all visitors. The switch is instant and reversible: if anything looks wrong after publishing, you can reactivate your previous theme from the same theme library in under 30 seconds.
how to install shopify theme, install shopify theme step by step, shopify theme installation guide 2026, upload shopify theme tutorial